What is the Best Infill Pattern in 3D Printing? Those with a DIY mindset will like almost every element of 3D printing. You’ll have to tamper with many 3D printer parts for troubleshooting, not just because you can create your 3D models for printing. You may also tweak or enhance your 3D printer to take your DIY abilities to the next level. There are hundreds of ways to customize a 3D printer.
A cubic or gyroid infill is the most excellent option if you want your print to be as sturdy as possible. Other options have advantages in different areas: a liner infill reduces printing time, while a concentric infill provides versatility. Other factors such as infill density and orientation impact the physical properties of the final print.
One of the most excellent methods to regulate the weight and density of your 3D print and the amount of filament it uses is to use an infill pattern. However, It doesn’t mean that its mechanical characteristics have to suffer. Below are some of the greatest infill pattern options for various 3D printing applications.
There isn’t a single optimal solution for infill patterns, as there aren’t many things in 3D printing. Slicers come with various options, but a few have become the go-to for many users.
Infill Pattern in 3D Printing parameters
The most critical parameters determine the appropriate infill pattern for your task. You’ll probably want them to be as sturdy as feasible for working portions. However, there are situations when flexibility is more important, for as when using vibration dampening or shock absorption devices. Infill patterns designed to optimize speed are also available if productivity is a top goal.
Whatever infill pattern you use, you’ll save money on the filament and cut down on printing time. Infill pattern is a crucial parameter in your slicer, and we encourage that you play around with it.
If you’re 3D printing functional items that need to survive a lot of stress or handling, you should utilize infill patterns that emphasize strength. Cubic or gyroid are two viable possibilities.
cubic infill pattern
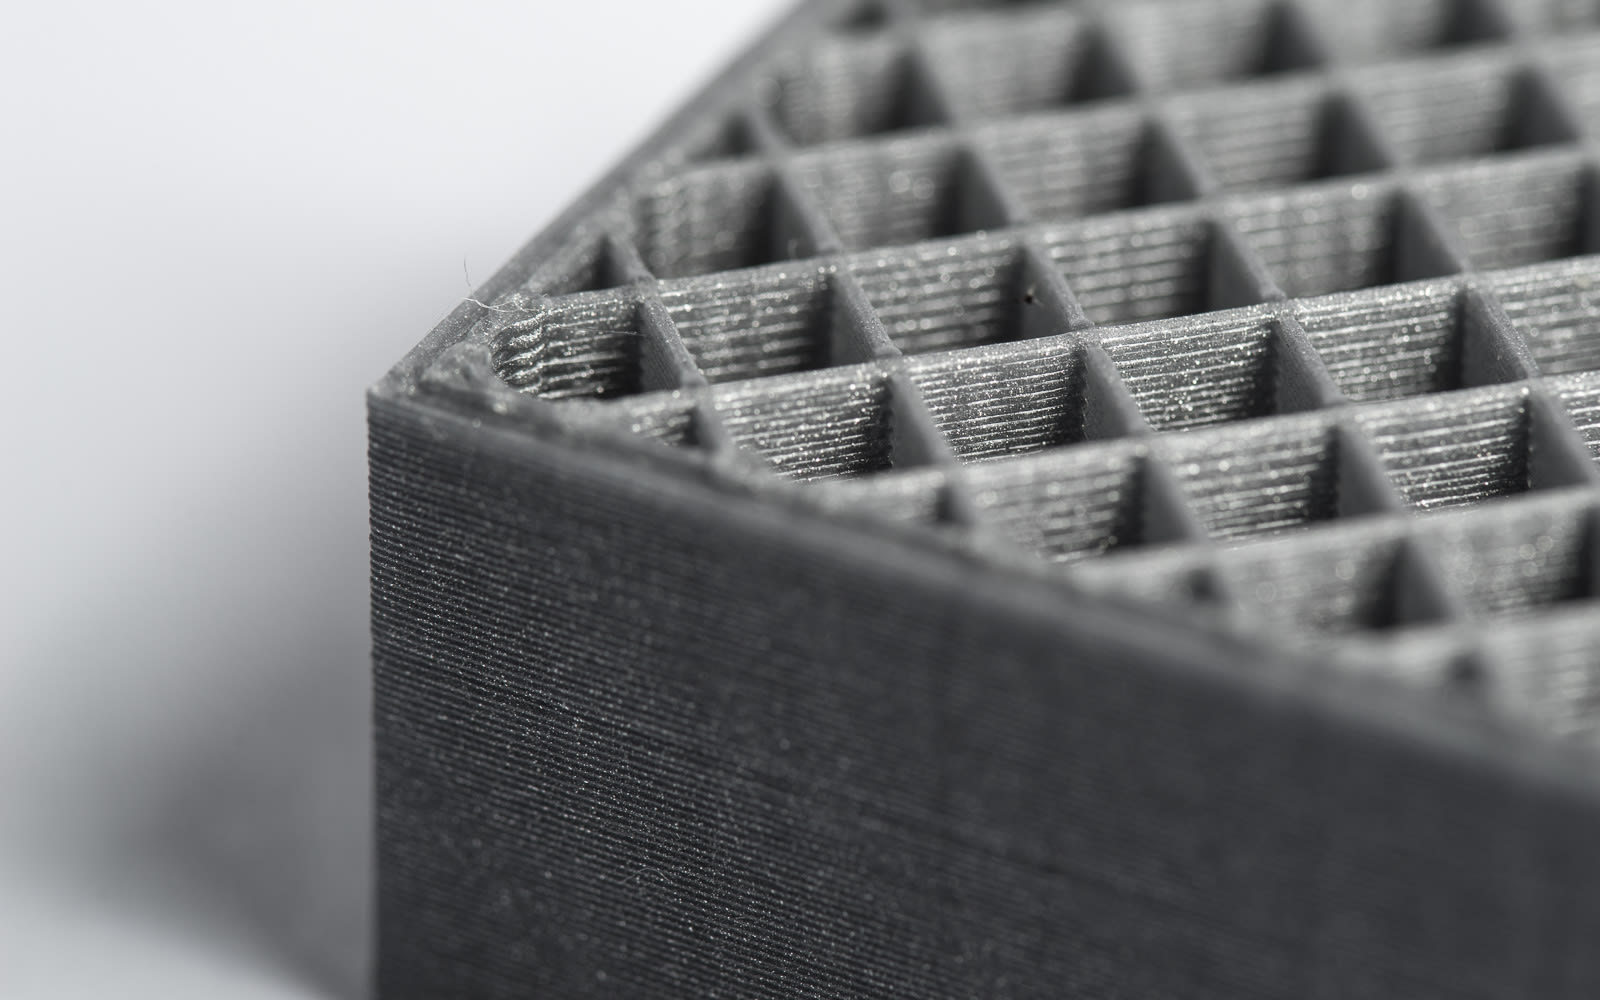
The most common infill pattern supplied by most slicers is cubic. Slanted and stacked cubes make this structure. The cubes are oriented such that they stand on their corners, which provides greater strength in the perpendicular direction of the infill and eliminates the need to print overhanging sections. This infill seems to be triangular when viewed in cross-section due to its orientation.
This infill technique aligns the corners of alternate cubes largely along the axes. It does, however, provide excellent reinforcement in all directions. It achieves a decent mix of strength and printing time, but it is still sluggish and consumes more filament.
gyroid pattern
A gyroid infill pattern may be ideal for you if you require your components to be sturdy but not stiff. A gyroid infill pattern is a complicated infill design that might take a long time to slice. Not all slicers will probably have it.
A gyroid pattern consists of waves that travel along each of the three principal axes. These waves are linked and layered on top of one another, providing equal reinforcement in all directions. The pattern is captivating, and some designers have even included it as a critical component in the aesthetic appeal of their models.
Although slicing a gyroid design takes a long time, it prints quicker and consumes less filament than a cubic infill. It’s also a little more flexible, though it’s still more correctly defined as stiff.
infill density
For high-strength structures, an infill density of at least 50% is suggested for cubic and gyroid layouts. Although the increased benefits are minor, increasing the density to more than 50% is still an option. Going beyond 75% isn’t usually a good idea because the extra printing time and filament consumption aren’t worth it.
Although flexible is not the polar opposite of strong, it belongs in a distinct category. When stressed, flexible 3D printing is supposed to deform. Flexible sections are significant for impact absorption and vibration dampening since such a structure absorbs rather than transmits energy. Flexible elements are also exciting and enjoyable to work with.
Concentric infill
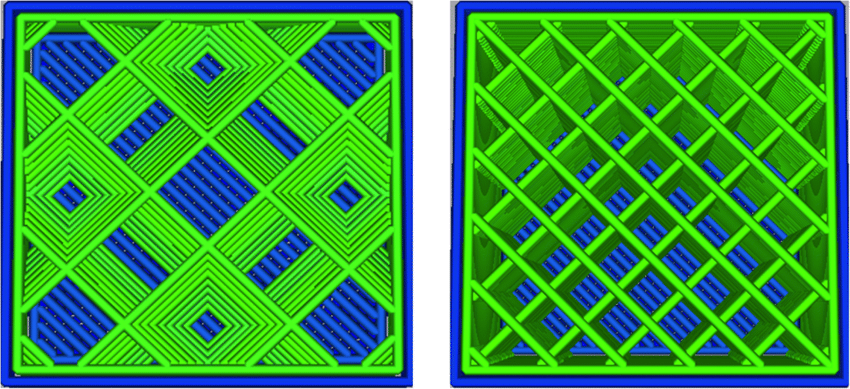
For flexible components, the most frequent infill pattern is concentric. The form of the outer perimeter is replicated on a smaller scale in the inside area in this design. This pattern is unique because it is somewhat stiff in the z-axis but has no rigidity in the x- or y-axes.
The infill density can manage the degree of flexibility of a 3D printed item with a concentric infill pattern. The infill density may be varied between 0% and 100%, depending on how rigid or flexible the part has to be. Because the concentric layers are virtually contacting each other at 100 percent infill, the print achieves a stiff structure along the x and y axes.
Concentric infill prints quicker and consumes less filament than a cubic infill. This criterion, of course, only applies if the infill density is equivalent. Even printing concentric at 100% infill density will take longer and consume more filament than printing cubic at 50% density.
linear infill pattern
If you want to get your items 3D printed as soon as possible, the most straightforward infill design offered is an intelligent choice. As the name indicates, the linear infill pattern prints a sequence of parallel lines in the model’s interior space. The lines in each layer alternate in direction, giving the pattern a boost in overall strength. The infill density determines the amount of gap between the lines.
A 3D print with a linear density has inadequate structural integrity in all directions. For functional portions, it is unworkable. The linear infill pattern is most commonly used for projects primarily for display.
A linear design has the advantages of being rapid to print and using less filament. The zigzag pattern, a variation of the linear infill pattern, prints even faster because it reduces flow interruption when moving from one line to the next.
When printing a linear pattern, the infill direction is critical. Because of the overlapping alternating lines, the z-axis is much stronger than the x and y axes. The linear pattern can only be regarded as highly faint in the horizontal directions.
Increasing the infill density of linear infill does not considerably improve its strength till the amount approaches 100%. Reducing the spacing between lines, on the other hand, can help ensure that the layer’s top layer prints smoothly.
You don’t have to rely just on infill pattern and density to make your 3D print as strong as possible. The overall strength of the produced item is influenced by wall thickness, printing temperature, printing speed, cooling rate, and filament of choice.
post-processing
In post-processing, it’s also feasible to improve the strength of a 3D print. An epoxy coating on the 3D print’s exterior surface helps bond the layers together and provides modest mechanical support. An epoxy coating protects the 3D print from UV deterioration and offers a tremendous shining surface that may be polished further.
One trait distinguishing 3D printed things from other production processes is their ease of hollowing out. The hollowing out of the 3D printed part is a fantastic approach to keep the weight and density of 3D prints under control. Hollowing out an item, on the other hand, weakens its mechanical integrity.
The overall qualities of a 3D printed item are heavily influenced by the infill patterns used. There are many alternatives today – some slicers offer over a dozen infill designs. Just remember that the most potent pattern isn’t always the best. The best option is determined by the application or goal of your project.